The choice of robotic polishing abrasives affects how a metal part changes from an unfinished surface to an accepted product. An abrasive that removes a casting mark quickly may leave scratches that require additional finishing. A fine polishing tool may improve brightness while leaving deeper defects visible.
For a robotic grinding and polishing machine, abrasive selection should connect the incoming surface, the workpiece material and the required result. Each stage needs a clear purpose, and the complete sequence should be tested on representative production parts.
Define the Required Surface Before Selecting an Abrasive
Start by identifying what the finishing process must change. A part may need casting lines removed, local scratches blended, a uniform satin appearance or a bright decorative finish. These requirements can call for different tools and process steps.
Also identify surfaces that must retain their dimensions, edge shape or existing finish. More material removal is not automatically acceptable simply because the part looks smoother.
An approved reference sample helps communicate the appearance, while drawings and inspection requirements define the areas that need protection. Our guide to robotic polishing surface finish acceptance criteria explains how to define the result before validating the process.
Match the Abrasive Type to the Operation
Several abrasive types can be used in automated metal finishing. Their suitability depends on the application and the way the tool contacts the part.
| Tool type | Typical role | What to check during trials |
|---|---|---|
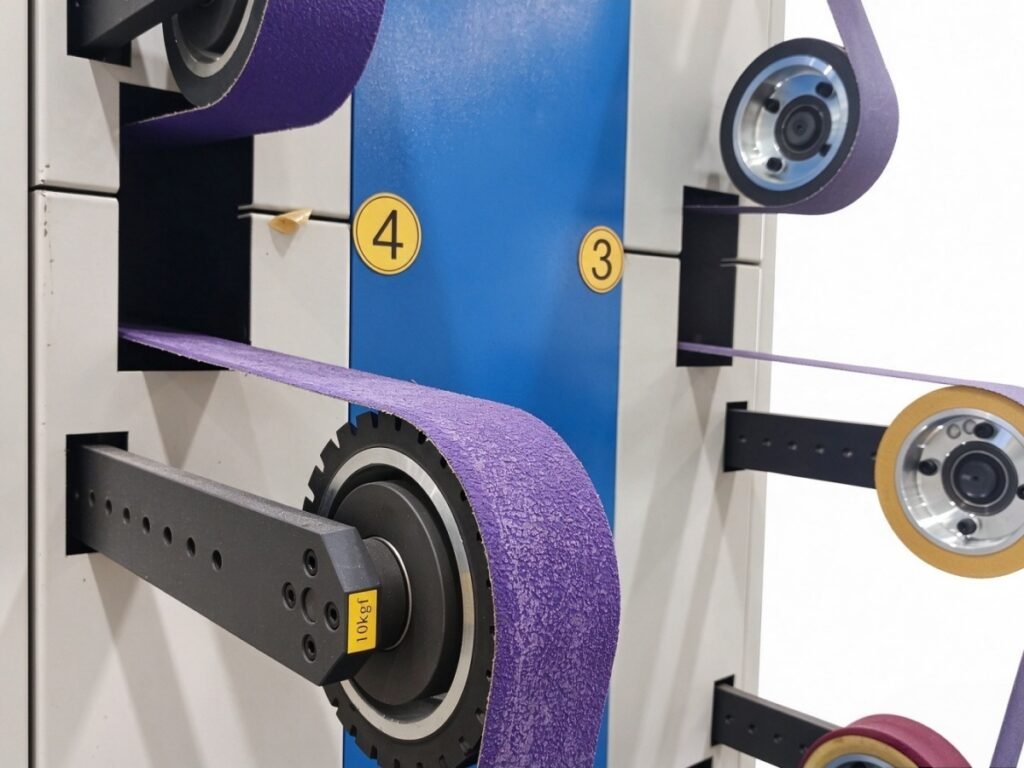
| Coated abrasive belts | Removing raised marks and refining scratches through successive stages | Cut rate, backing flexibility, contact wheel and scratch depth |
| Flap wheels or discs | Local blending and finishing on accessible contours | Tool access, contact area and preservation of edges |
| Non-woven belts or wheels | Surface conditioning, light deburring and satin finishing | Blending consistency, conformity and the remaining surface texture |
| Cloth or felt buffs with compound | Developing brightness after suitable surface preparation | Wheel construction, compound, contact conditions and visible residual scratches |
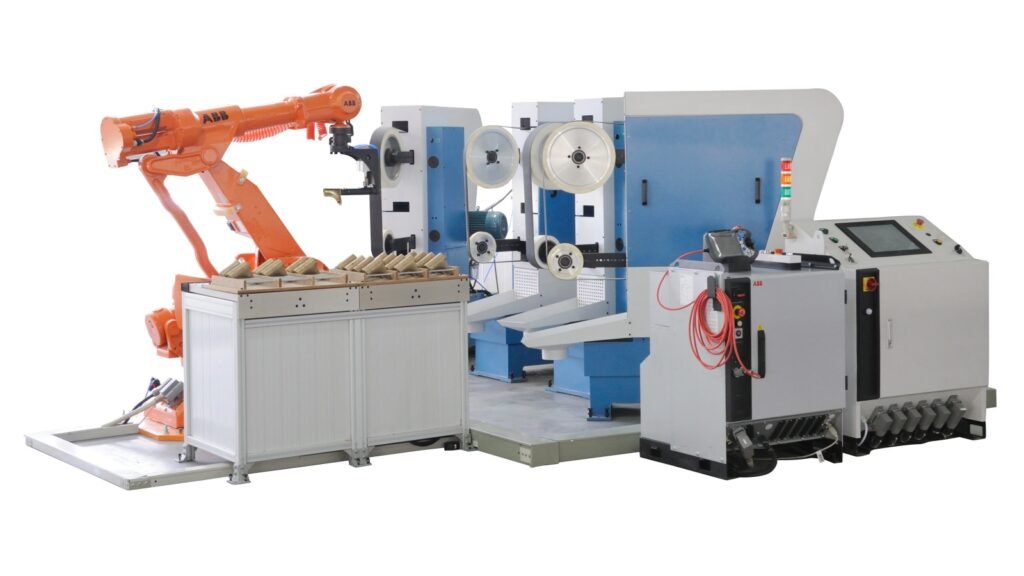
A robotic grinding workstation can use separate belt stations for different removal and refinement stages. Where the finish requires final brightening, a robotic buffing machine can be evaluated as part of the process.
Record the full abrasive specification. Products with a similar nominal grit can behave differently because of the mineral, backing, construction and operating conditions.
Develop the Grit Sequence by Checking Each Stage
A grit sequence is the progression of abrasive stages used to reach the required surface. Its starting point depends on the incoming defects, and its endpoint depends on the accepted finish.
Choose an initial abrasive that removes the intended defect without creating excessive scratches or removing material from protected areas. An unnecessarily aggressive first stage can increase the work needed later.
Each following stage should refine the surface left by the previous operation. Clean the sample and inspect it under consistent lighting before moving to the next stage. If earlier scratches remain, check the abrasive transition and process settings before adding more final buffing time.
For a satin finish, the sequence may end with a suitable surface-conditioning step. A bright finish may require further refinement followed by an appropriate wheel and compound. The same sequence should not be assumed suitable for both results.
Confirm the complete process on actual parts. A grit number alone does not specify the final appearance, and one fixed progression cannot cover every material, incoming surface and geometry.
Match the Abrasive to Material and Contact Conditions
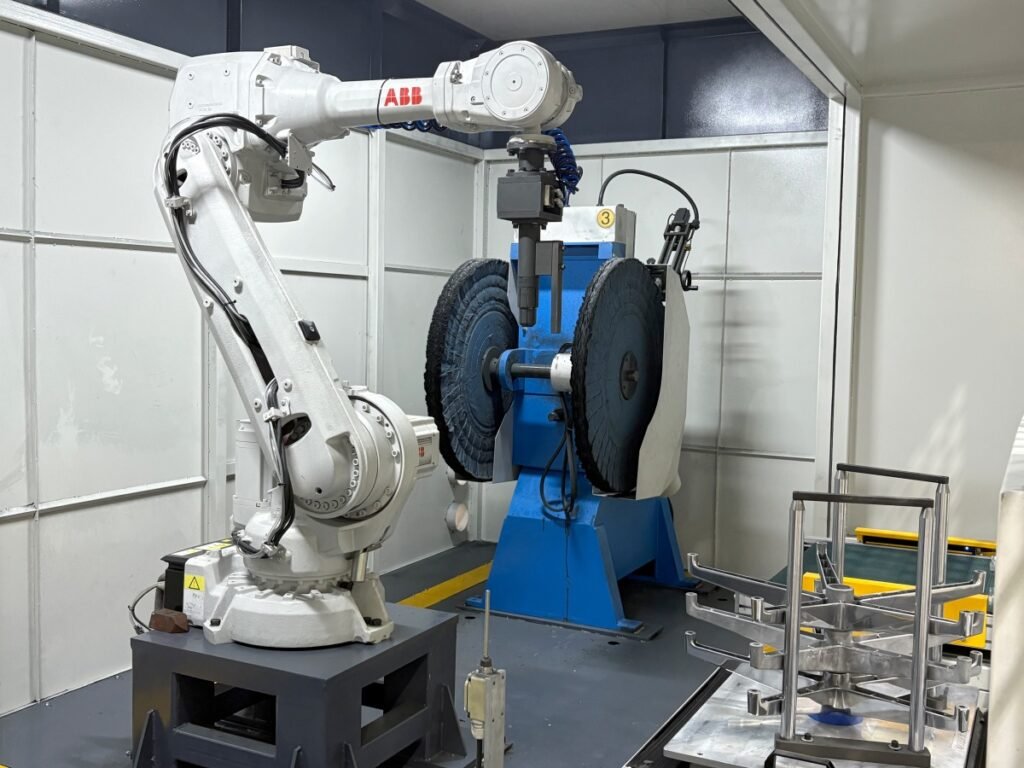
The abrasive and the cell settings must work together. Belt or wheel speed, contact force, feed rate, contact area and dwell time all affect the result. Use the abrasive manufacturer’s operating limits and validate the settings for the application.
For stainless steel, control unwanted heat marks and keep tools used on carbon steel separate where contamination could affect the finished surface. For aluminum and other softer metals, watch for material loading on the abrasive and smearing on the part. These conditions can change cutting behavior during a run.
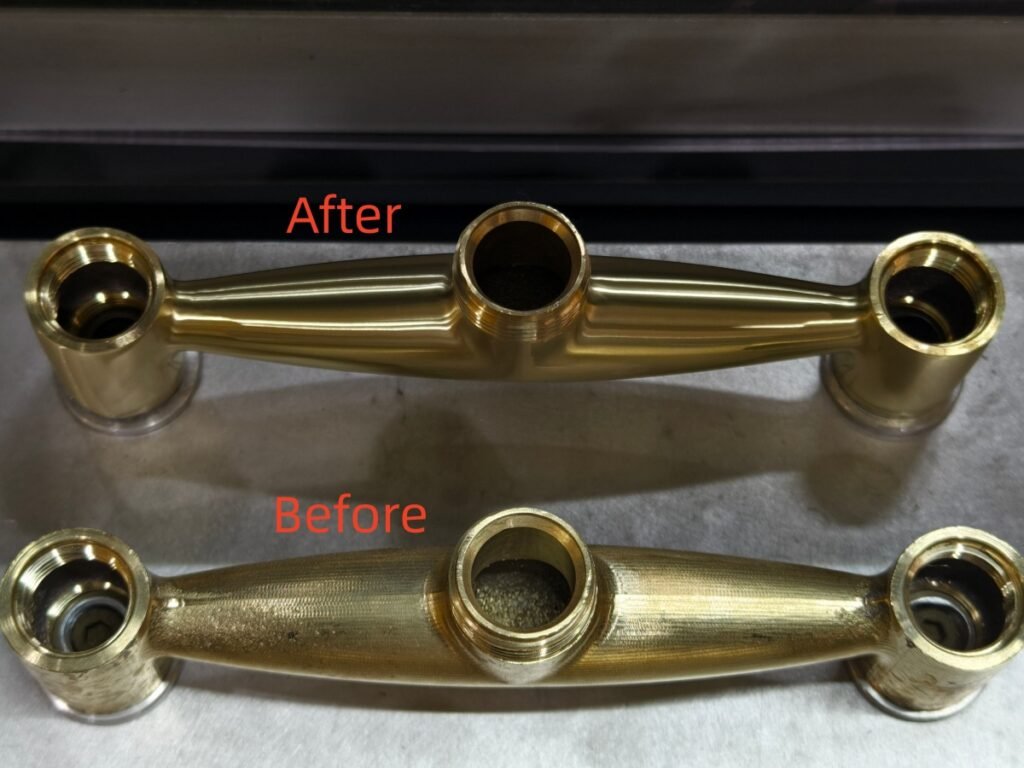
For brass and zinc alloy decorative parts, evaluate how the tool preserves curves, edges and thin areas while removing the specified surface defects. Areas close to corners or openings may need different contact conditions from broad external faces.
Backing flexibility and tool support also matter. A tool that conforms well to a curve may behave differently on an edge. Trial the actual contact arrangement rather than selecting the abrasive from a flat test piece alone.
Validate Abrasive Wear During Repeated Production
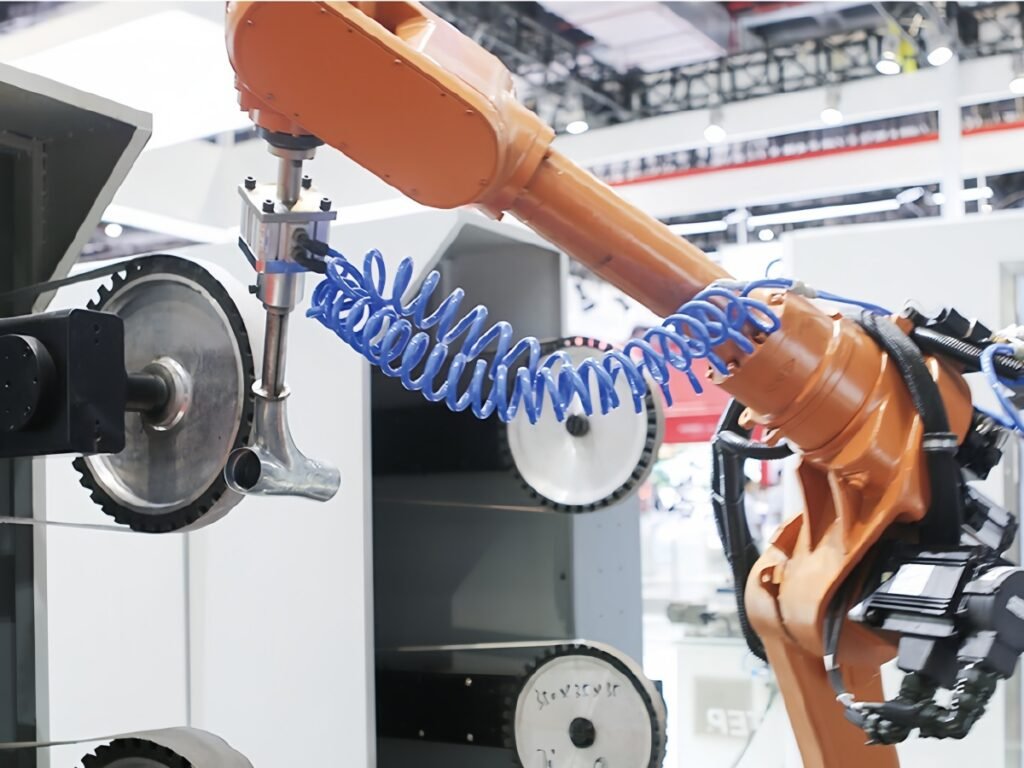
Approve the sequence using more than a single part and a new abrasive. Cutting behavior can change as a belt wears or loads, and wheel wear can alter the contact position and surface speed.
During repeated trials, record the finished appearance, processing time and any drift in dimensions or edge condition. Identify when the abrasive should be changed, dressed or otherwise maintained. Replacement criteria should relate to an accepted result, such as persistent scratches, excessive processing time or a worn wheel limit.
Where compensation is included, define and test its permitted range. Increasing force or changing speed indefinitely is not a substitute for replacing a worn tool.
Include abrasive changes and wheel maintenance in production planning. Our guide to robotic polishing cycle time and production capacity explains how recurring activities affect the number of finished parts produced.
Compare Consumable Cost per Accepted Part
Compare abrasive candidates under the same finish requirement. Record purchase cost, usable tool life, changeout time and the number of parts accepted without additional finishing.
A useful trial measure is:
Consumable cost per accepted part = consumable cost used during the trial / number of accepted parts produced
Include the belts, wheels and compounds consumed by the tested sequence. If a trial uses only part of a tool’s life, state how its consumed cost was estimated. Record processing time and rework separately so they remain visible when the overall operating cost is compared.
This gives purchasing and production teams a practical basis for comparing abrasive options at the required quality level.
Prepare Samples for a Robotic Finishing Review
Before specifying the final tools and stations, provide:
- Workpiece material, dimensions and weight
- Photos or drawings showing the areas to be finished
- Representative incoming parts, including normal surface variation
- A reference sample or a clear description of the required finish
- Areas where dimensions, edges or existing surfaces must be protected
- Current finishing steps and required production output
At Kingstone Robotics, we review the workpiece, finishing requirements and production needs when configuring a robotic grinding and polishing cell. Representative samples help evaluate the abrasive sequence and achievable surface result before the final equipment configuration is agreed.
Contact our team to discuss your robotic finishing project.
Frequently Asked Questions
Which abrasive is best for robotic polishing
The choice depends on the metal, incoming defects, geometry and required finish. Compare suitable belts, wheels or other tools using representative parts and the same acceptance criteria.
Can one abrasive handle grinding and final polishing
Some light finishing tasks can use a single abrasive step. Parts that need substantial defect removal and a refined decorative finish usually require separate removal and finishing stages. Confirm the sequence through trials.
Does a finer grit always produce the required finish
A finer grit can refine a scratch pattern, but the result also depends on the tool construction and contact conditions. Match the surface to the approved requirement, including any specified satin texture, rather than selecting the highest grit number available.
Can final buffing remove deep grinding scratches
Deep scratches may remain visible after brightening. Inspect the intermediate surface and correct the removal or refinement stage instead of relying on extended final buffing.
How often should robotic polishing abrasives be replaced
Set replacement criteria from repeated production trials. Monitor finish quality, processing time, abrasive condition and applicable tool limits. The interval depends on the material, removal requirement and operating conditions.